See exactly how it works
Six steps from a CAD file to product images, 360° video and AI photoshoots. Every screenshot below is the real product.
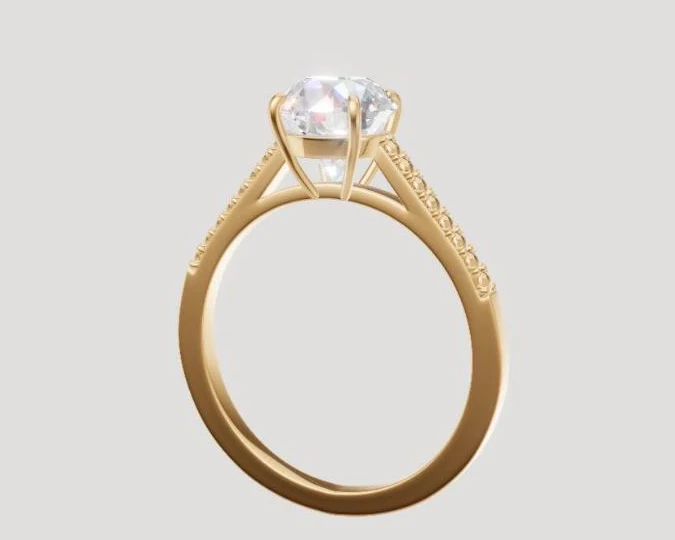
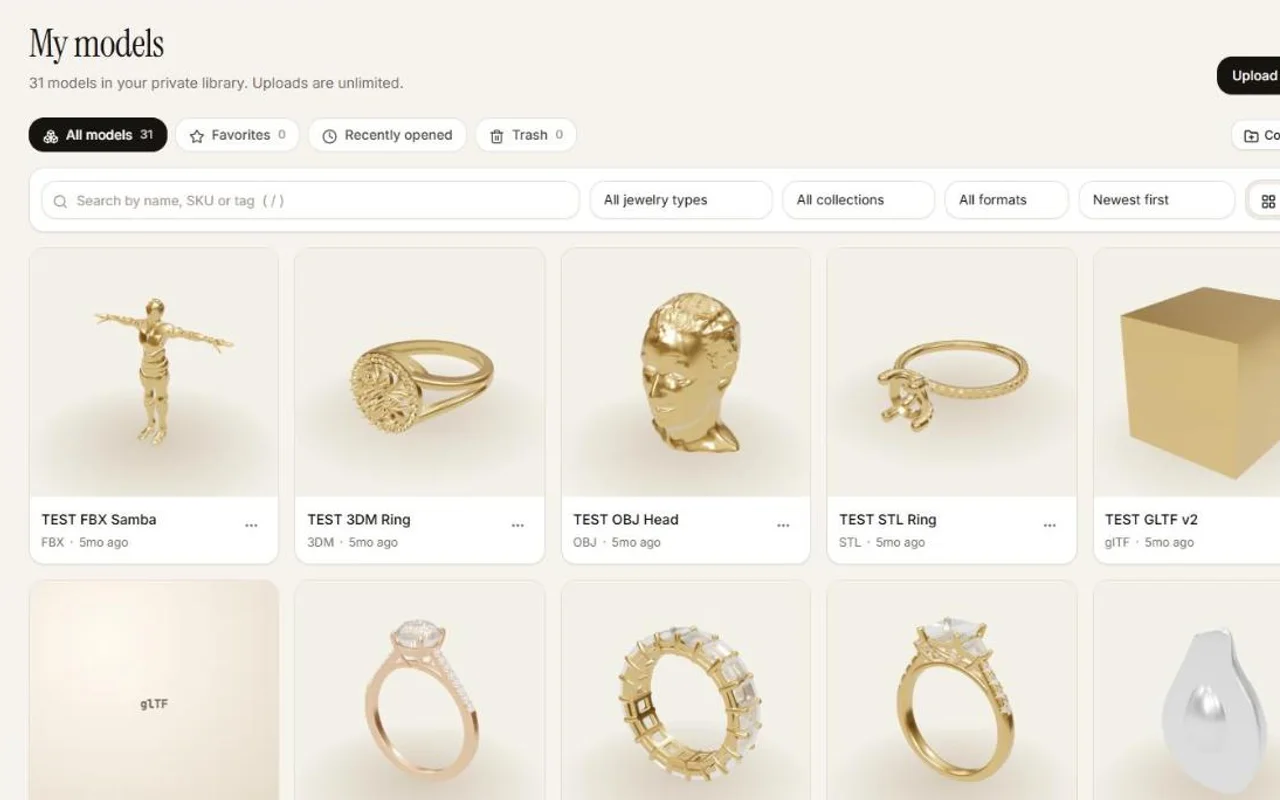
Upload your CAD file
Drop a Rhino 3DM, GLB, glTF, STL, OBJ or FBX file, or a whole folder. Stones are recognised from layer names.
- Drag in single files or a whole folder. Each upload becomes a private model with a preview image.
- SKUs are read from file names like RG-1042_Solitaire.glb, and you can set a jewelry type and collection for the whole batch.
- Find any piece later by name, SKU or tag, filter by type, collection or format, and star your favourites.
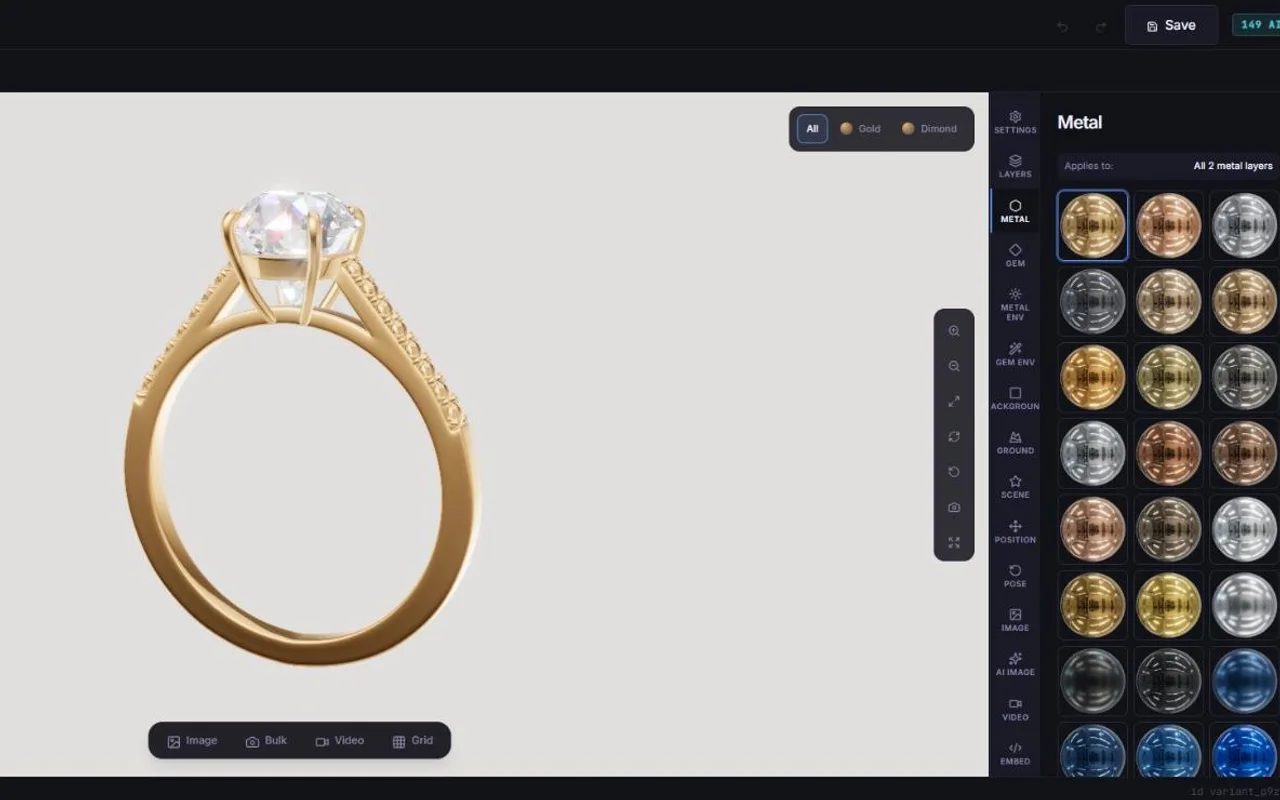
Pick metals and stones
Choose from 98 metals and 58 gemstones, per layer or for the whole piece.
- Pick any layer and apply one of 98 metal presets: polished, brushed and matt golds, platinum, silver and more.
- Stones get one of 58 gem materials, from colourless diamonds to sapphires, emeralds, rubies and cabochons.
- Set up each metal and stone combination as a variant so you can switch colourways in one click.
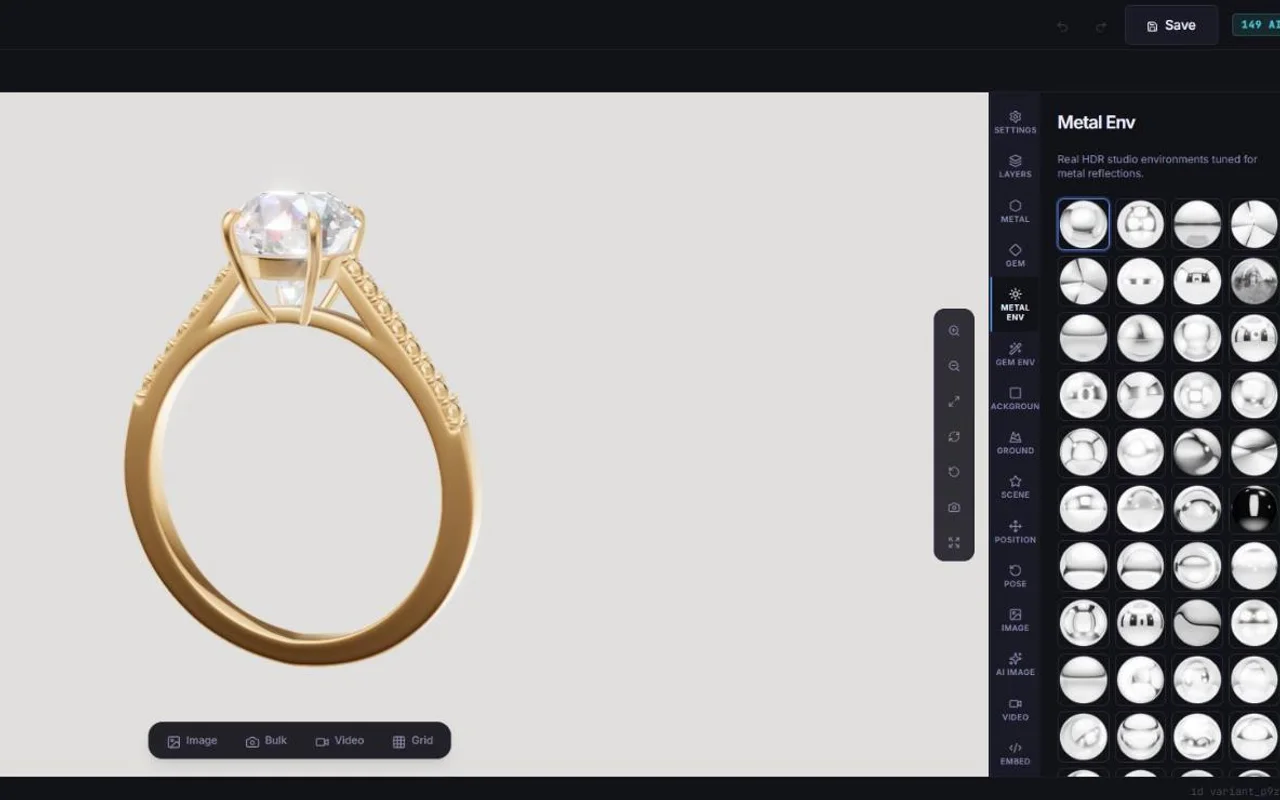
Light it like a studio
64 metal and 18 gemstone lighting environments, 28 backgrounds and 10 ground styles.
- Metals and stones have separate lighting: 64 metal environments and 18 gem environments.
- Choose from 28 backgrounds, from pure white and soft greys to deep studio colours, and 10 ground styles from soft shadows to mirrors.
- 26 ready-made scene presets set background, lighting and ground together.
Pose and frame
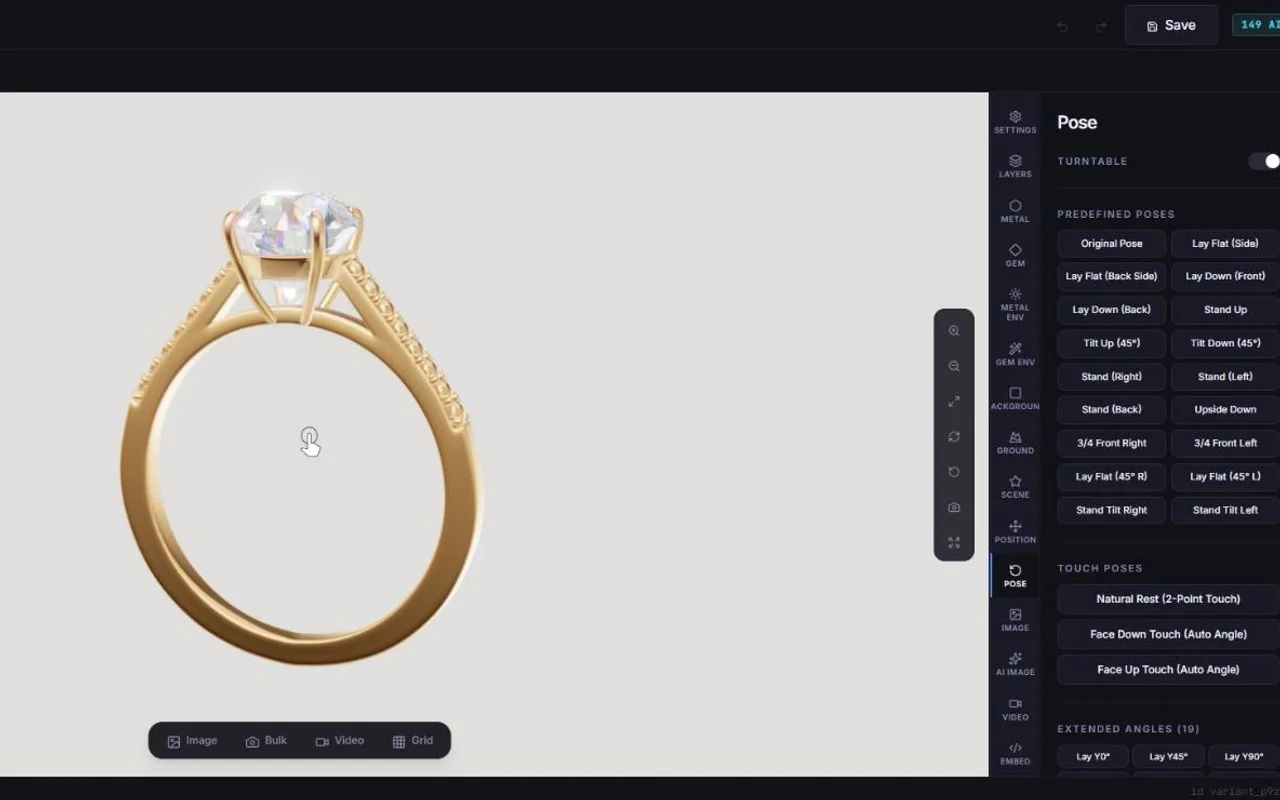
40 one-click poses show the piece from the front, from above, from the side or at an exact tilt. Save your own poses too.
- 40 one-click poses swing the camera to a front, top, side or tilted view, and frame the whole piece the same way every time.
- Turn on the turntable to check every side, then save your own poses as you work.
- Position and scale controls let you frame the piece exactly for each format.
Export images and video
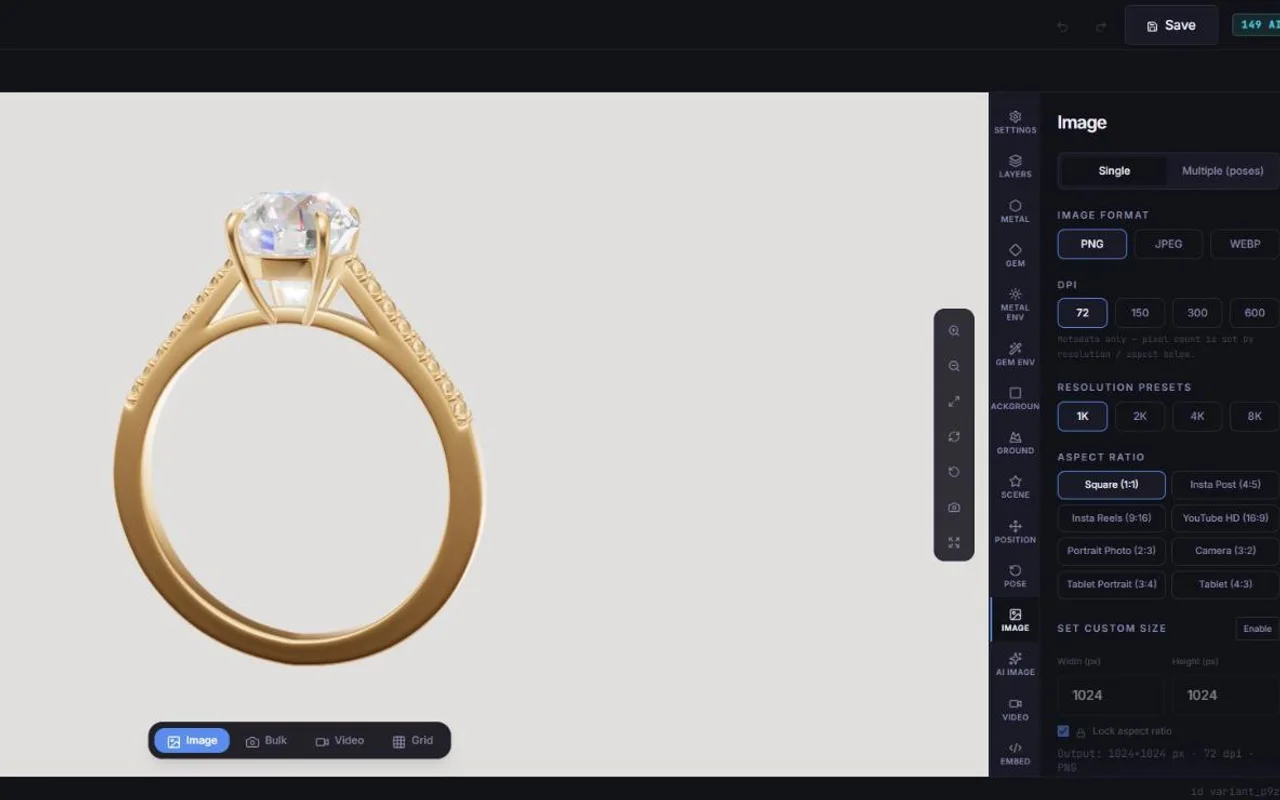
PNG or JPEG stills at export sizes up to 8K, and 360° or multi-angle WebM videos up to 4K, in square, portrait, story and wide sizes.
- Export stills as PNG or JPEG in eight aspect ratios from square to story and widescreen.
- Pick 1K, 2K, 4K or 8K on the long edge, or set a custom width and height, and download several saved poses in one ZIP.
- Record 360° turntables and multi-angle videos up to 4K in the same aspect ratios, saved as WebM files.
Add AI photoshoots and video
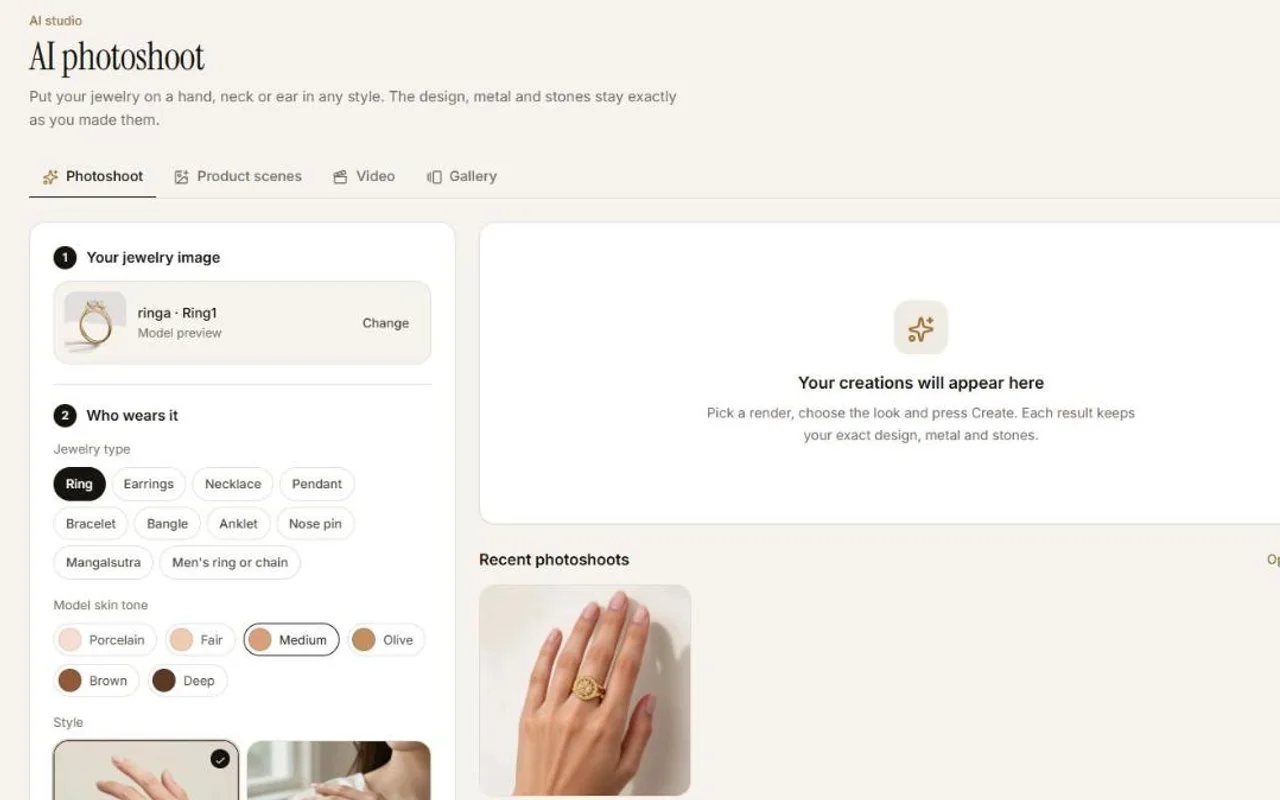
Put the same piece on a hand, neck or ear, into a styled scene, or into a short motion clip. Each result starts from your own render and keeps the design close to it.
- AI photoshoot places the piece on a hand, neck, ear, wrist or ankle with six skin tones and eight styles.
- AI product scenes put it on marble, velvet, sand, flowers or a setting you describe.
- AI video turns any render or AI photo into a 5 second MP4 clip with one of six motion presets.
Questions about your own workflow?
Read the guides written for designers, manufacturers and online stores, or ask our team.